After posting how great Tarsnap is I thought it only fair to write a ‘how to install Tarnsap on Linux’ article, so here goes.
Sign up for an account
This is the easiest part, simply create an account at Tarsnap.com and verify your e-mail address. You will need to ‘top up’ your account with at least 5 American Pasos to actually get started so may as well do that right away. I used Paypal as it makes me feel safe and when I feel safe I sleep better at night.
Once you have an account balance there’s actually not much else to do via the website; the rest is all command line goodness.
Download and Compile the Source Code
I’m going to do the rest as the ‘root’ user. If you’re not feeling as brave you may wish to prefix every command with ‘sudo’ as your normal user – for some reason Ubuntu et al seem to love doing this.
At the time of writing version 1.0.36.1 was the latest.
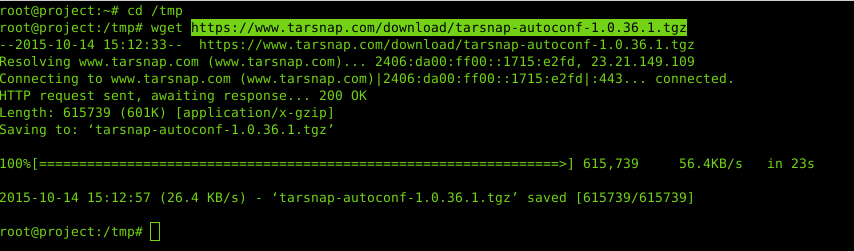
First up lets get root and change to /tmp and then download the tarball:
sudo -i
cd /tmp/
wget https://www.tarsnap.com/download/tarsnap-autoconf-1.0.36.1.tgz
At this point you should probably verify the download with a GPG key. I’m not going to bother here though.
Instead lets untar our file and get down and dirty.
tar zxf tarsnap-autoconf-1.0.36.1.tgz

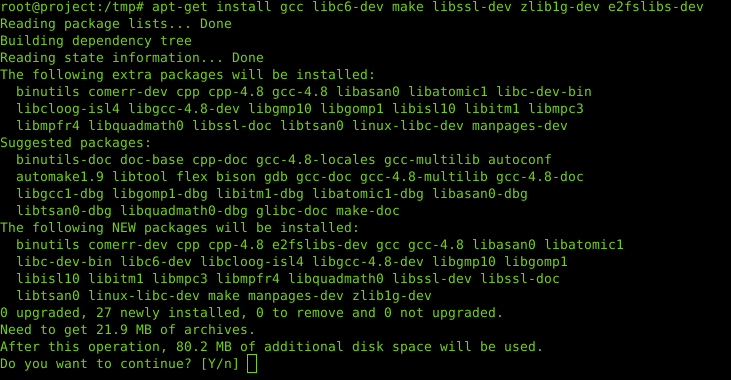
Before continuing we need to install some dependencies. If you are using Ubuntu/Debian this is what you need:
apt-get update ; apt-get install gcc libc6-dev make libssl-dev zlib1g-dev e2fslibs-dev
(Press ‘Y’ to actually download and install them)
Once that’s done we can go ahead and compile the binaries. First jump into the directory and then run ./configure.
cd tarsnap-autoconf-1.0.36.1/
./configure
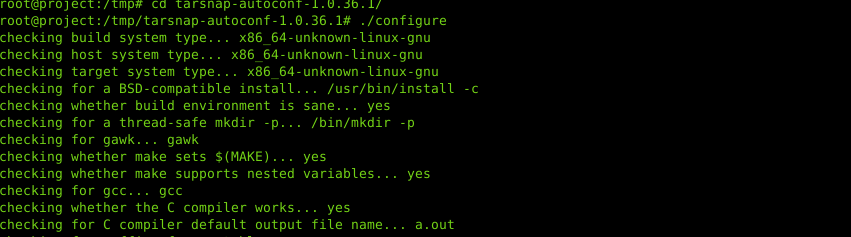
This will spurt out all sorts to the screen, as long as the last lines are…
configure: creating ./config.status
config.status: creating Makefile
config.status: creating config.h
config.status: executing depfiles commands
… you are good to rock ‘n roll. If there’s an error then chances are your ‘apt-get’ command didn’t work properly. Fix that before continuing.
Next comes the part which makes you look like a boss. Lets start the make job and compile Tarsnap.
make all
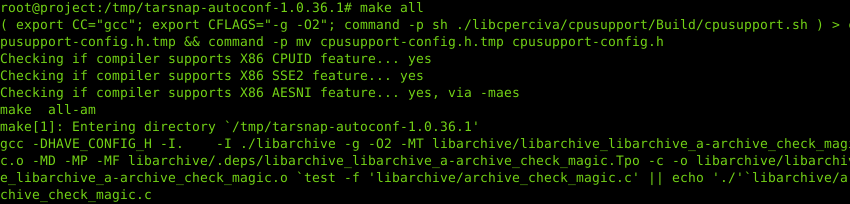
This will output a lot of text – that’s fine. As long as the final lines are similar to this below then you are golden.
cat ./keygen/tarsnap-keygen.1-mdoc > keygen/tarsnap-keygen.1.tmp
mv keygen/tarsnap-keygen.1.tmp keygen/tarsnap-keygen.1
cat ./keyregen/tarsnap-keyregen.1-mdoc > keyregen/tarsnap-keyregen.1.tmp
mv keyregen/tarsnap-keyregen.1.tmp keyregen/tarsnap-keyregen.1
cat ./recrypt/tarsnap-recrypt.1-mdoc > recrypt/tarsnap-recrypt.1.tmp
mv recrypt/tarsnap-recrypt.1.tmp recrypt/tarsnap-recrypt.1
cat ./keymgmt/tarsnap-keymgmt.1-mdoc > keymgmt/tarsnap-keymgmt.1.tmp
mv keymgmt/tarsnap-keymgmt.1.tmp keymgmt/tarsnap-keymgmt.1
make[1]: Leaving directory `/tmp/tarsnap-autoconf-1.0.36.1'
Again, check for any errors, if there are problems you’ll need to figure out what’s wrong.
The final stage of the installation phase is to, well, install what we have just compiled.
make install
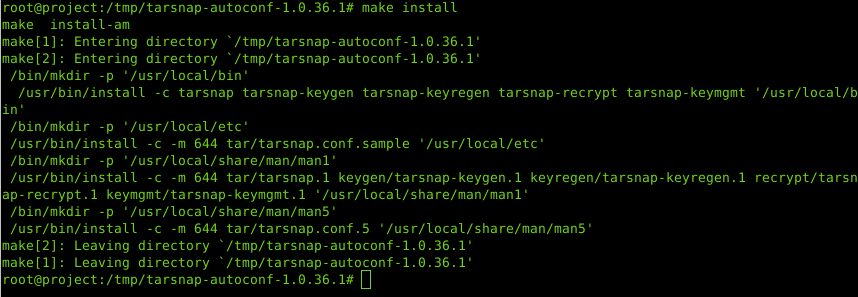
There should be no problems there but check for errors anyway.
Nice, now Tarsnap is officially installed. Next for configuration.
Initial Setup and Configuration
First thing to take note is where this has just installed to. The answer is /usr/local/. Lets jump there and have a look around.
cd /usr/local/
ls
ls bin/

From this we know that our tarsnap executable is at /usr/local/bin/tarsnap. Before getting too excited we need to move the sample configuration file into place
cp etc/tarsnap.conf.sample etc/tarsnap.conf
Next we need to generate our unique key. You should generate a new key for every machine you want to use on your Tarsnap account.
You need to replace ‘[email protected]’ with the Tarsnap account email address you created earlier.
bin/tarsnap-keygen --keyfile /root/tarsnap.key --user [email protected] --machine `hostname`
Note: They are backticks ““ around ‘hostname’ which will translate to your machine’s actual hostname.
This will prompt your for your account password, enter it and be proud you got it right first time.

Congratulations! We now have a working Tarnsap installation.
The final step of this part is to ensure your key file is safe. By safe I really do mean safe. If you lose this file you cannot restore your backups. In other words don’t just leave one copy on the machine you’re wanting to back up otherwise if that machine dies you’ve just lost the only file in the world which can restore it.
I would advise using Google Drive or a USB memory stick or something equally as external to the machine in question as possible. It’s just a text file so you can ‘cat’ it with:
cat /root/tarsnap.key
Installing Tarsnapper
I mentioned in another post that although Tarsnap is an amazing tool in itself it doesn’t provide enough functionality to be all that useful on its own. That’s there Tarsnapper steps in. It will provide the mechanism to delete old archives automatically and maintain a GFS (Grandfather Father Son) hierarchy of archives.
Thankfully installation of tarsnapper is a piece of piss. Lets get it done and dusted with two commands:
apt-get install -y python-setuptools
easy_install tarsnapper
Done, wham bam thank you m’am. The last lines of output should be:
Adding python-dateutil 2.4.2 to easy-install.pth file

Installed /usr/local/lib/python2.7/dist-packages/python_dateutil-2.4.2-py2.7.egg
Finished processing dependencies for tarsnapper
Lets make a Tarsnap configuration file, assuming /root/ is acceptable and ‘vi’ as the text editor of choice (and why wouldn’t it be?):
vi /root/tarsnapper.conf
**** then paste in what's below****

deltas: 1d 7d 30d
target: /mymachine/$name-$date

jobs:
everything:
source: /usr/local/
exclude: /usr/local/bin
That is clearly a very basic configuration, more details are available on the Tarsnapper github page.
Now we have the moment you have all been waiting for – running an actual backup! How exciting.
To run a backup, you want:
tarsnapper -c /root/tarsnapper.conf make
This should output something similar to this (yours will be different but as long as there are no errors):

Finally (I promise) we need to schedule this to run every night.
To do this we use cron.
As root, run:
crontab -e
Then, on the last line add this:
30 01 * * * PATH=$PATH:/usr/local/bin ; /usr/local/bin/tarsnapper -c /root/tarsnapper.conf make
Save and exit the editor. This will mean a backup will run every night at 01:30am. Sweet as a nut!
Check Account Balance
With Tarsnap you get charged for every GB stored and every GB of network transfer. This shouldn’t be much because of the de-duplication and compression but it isn’t free, therefore you may wish to know how much you have left in your account.
Thankfully you can do this without having to log in to the website which means you can automate a checker to ensure you have enough dollah in your back pocket.
Here is the curl based one liner which does the job. Replace the email address with yours and the ******* to your password.
printf "%.0f\n" $(curl -L -c /dev/null -s --data "[email protected]&password=***********" https://www.tarsnap.com/manage.cgi |grep "balance is" | sed -n '/code/{s/.*<code>\$//;s/<\/code.*//;p;}')