Buying speakers is boring, anyone with a credit card can do that. Building speakers is a lot more fun! A year ago a few friends and I decided to build a G-Sub. Here’s the build process in pictures.

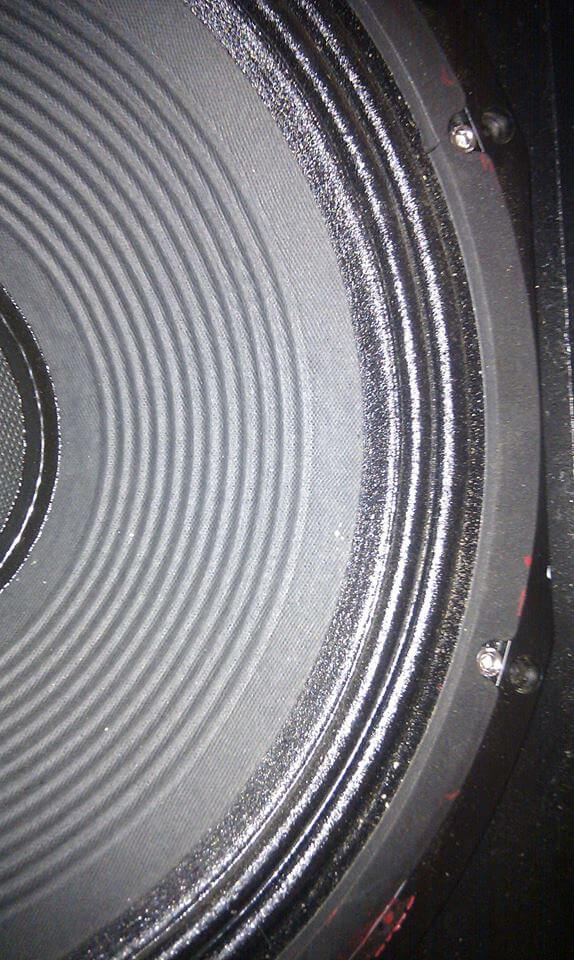
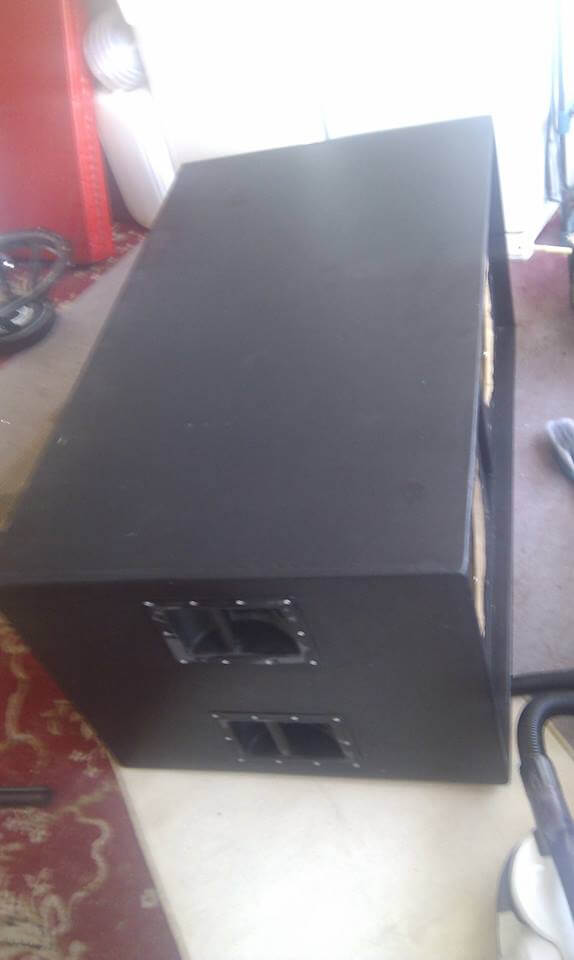
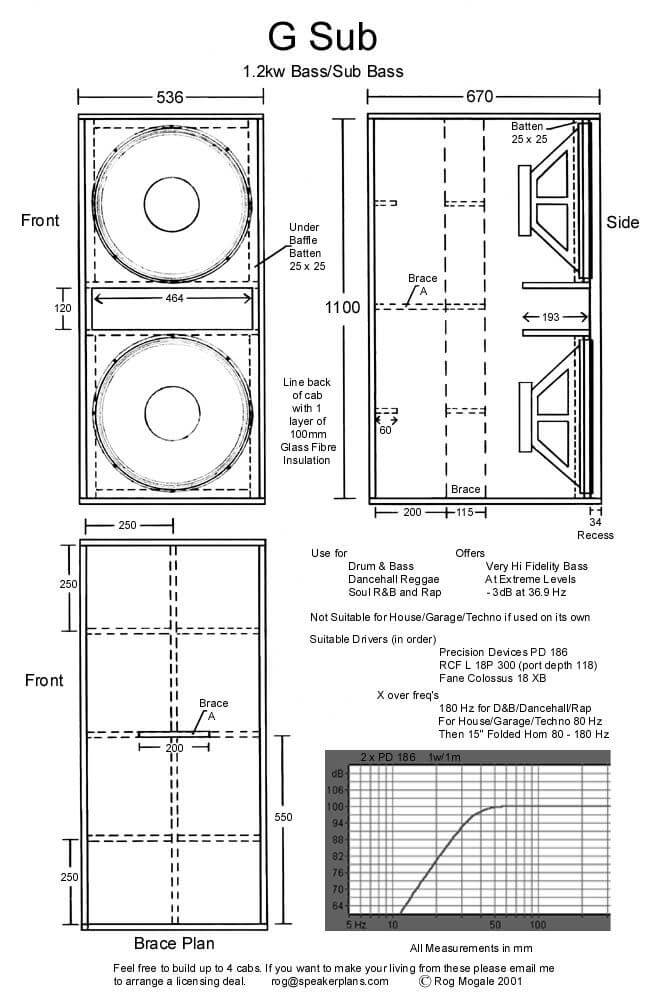
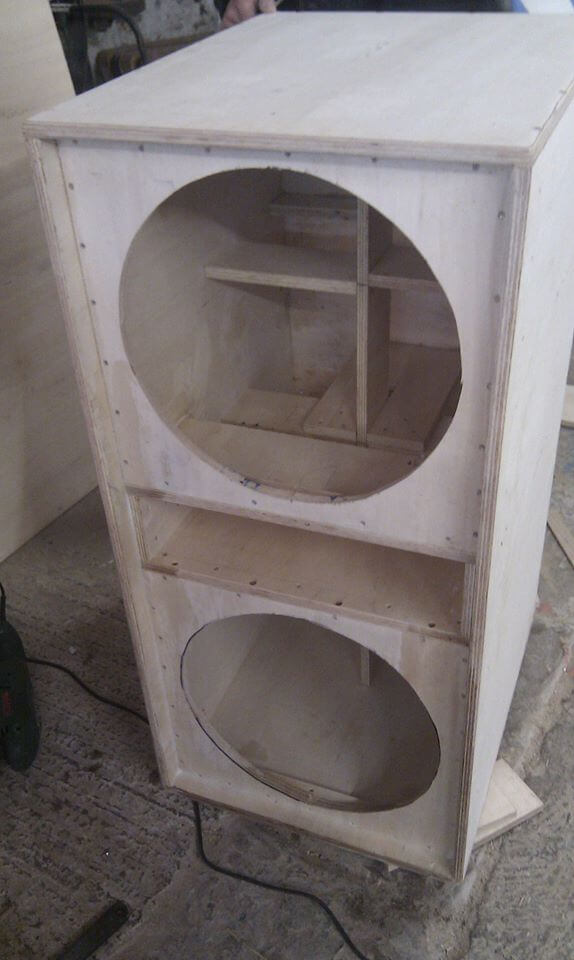
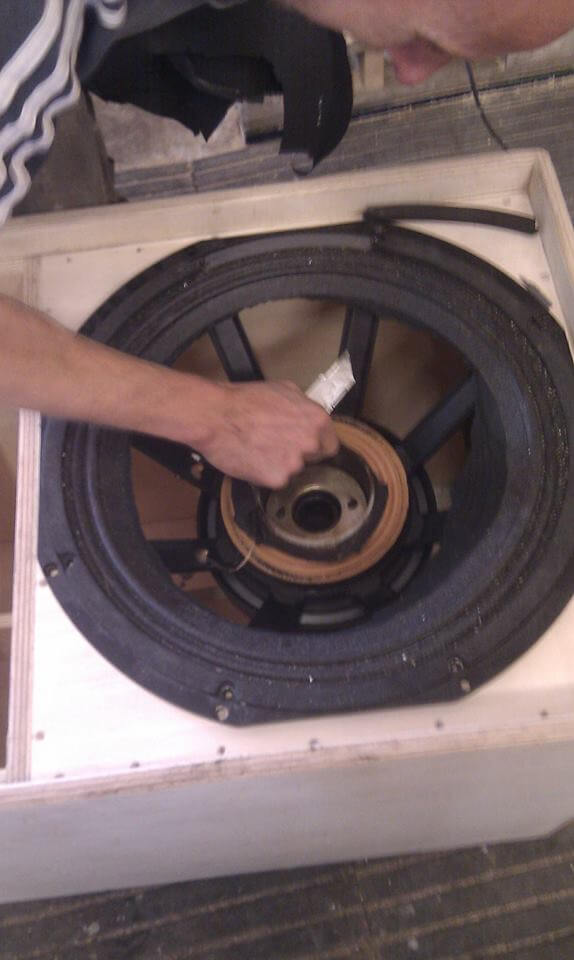
Before we start here’s a bit of background on the ‘G-Sub’. Speakerplans.com is a website run by speaker design guru Rog Mogale (Void Acoustics etc). The site contains free designs of various cabinets which anyone can utilise. The G-Sub is a twin 18″ reflex cabinet designed for high fidelity bass at extreme pressure levels. The drivers of choice were Fane Colossus 18XB which are industry standard 1kW (AES) drivers capable of 35Hz – 1kHz with 99dB (1w/1m) sensitivity.
When you pack two of these bad boys in to a well designed cabinet the result is guaranteed stomping bass. There were a few reasons why this design was chosen including its relatively compact size, simplistic design and because it’s a twin driver cabinet. It also happened I had a few 18XB drivers to hand which are ideal for this particular cabinet.
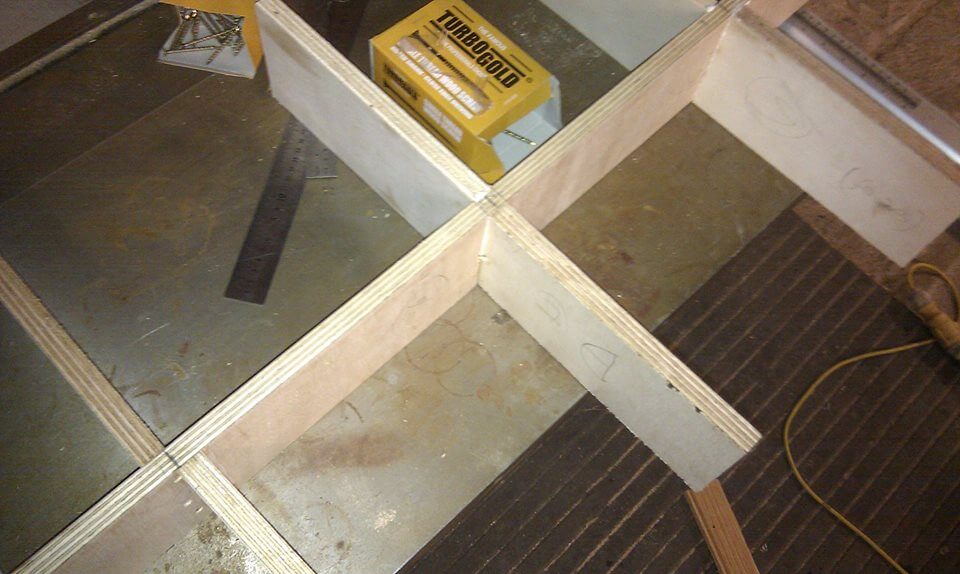
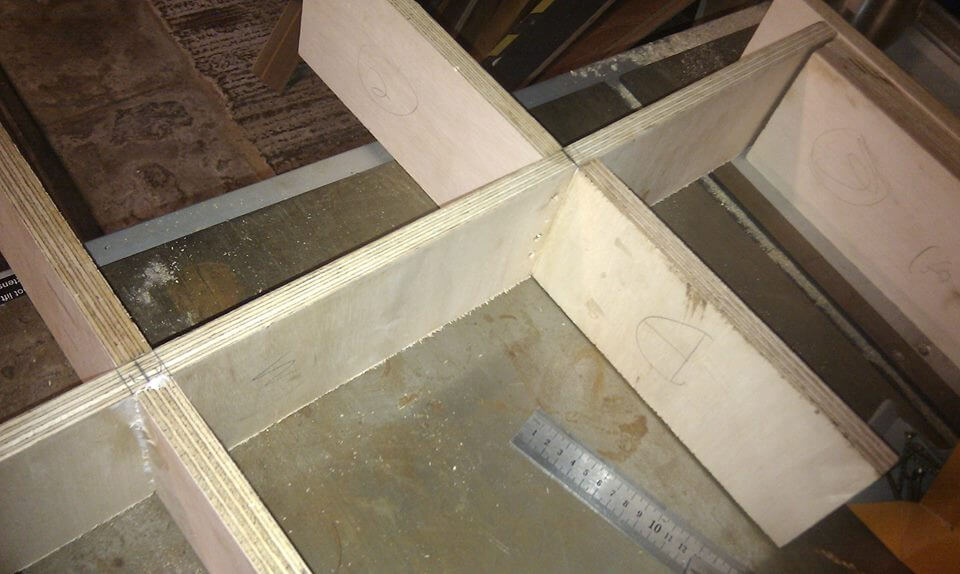
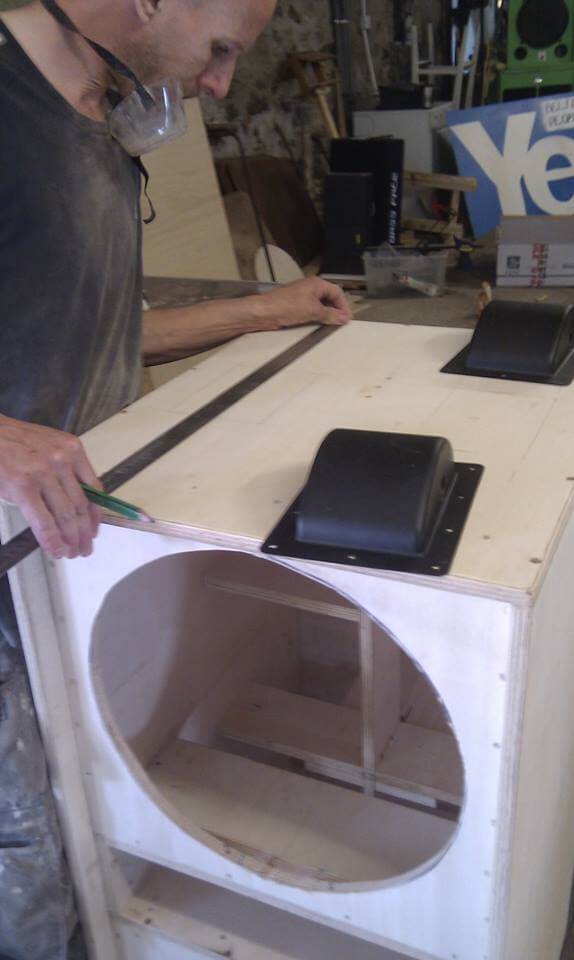
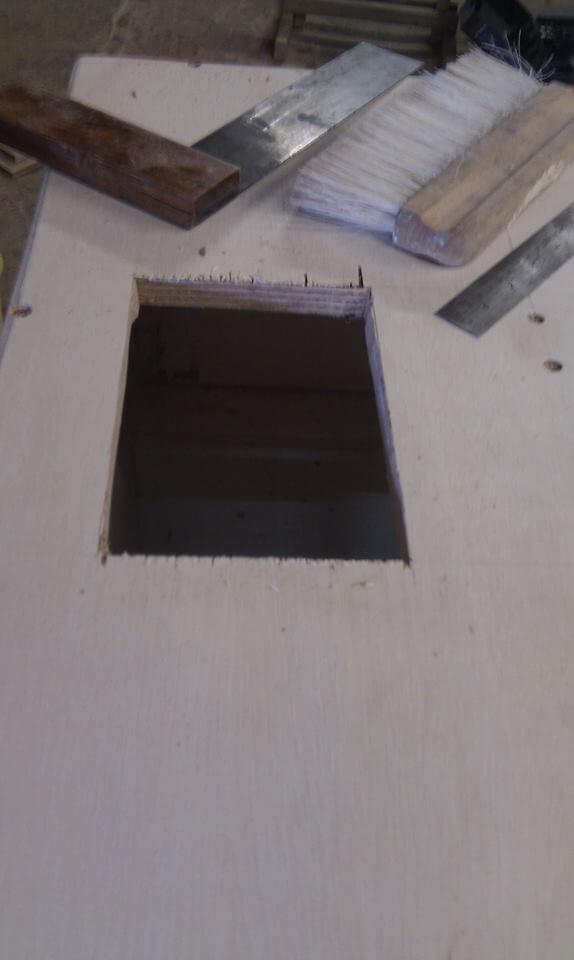
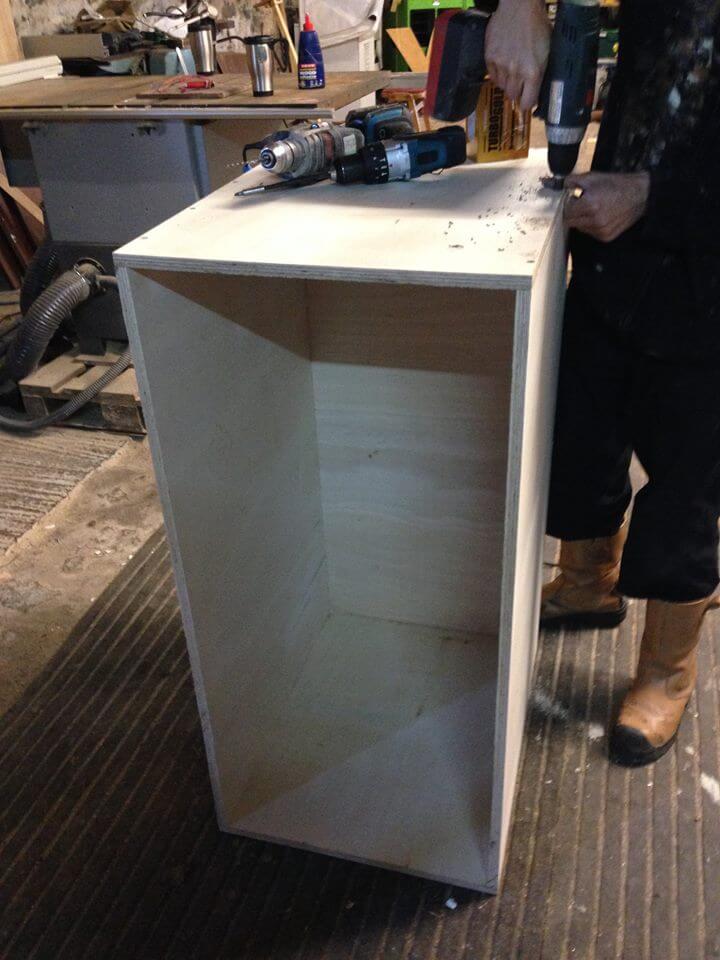
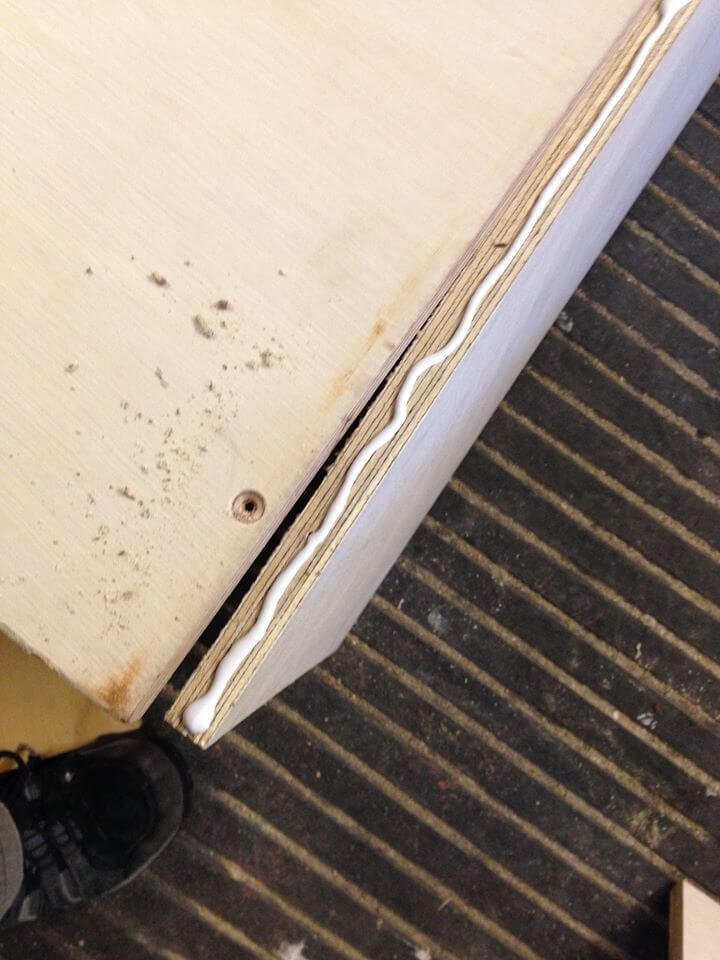
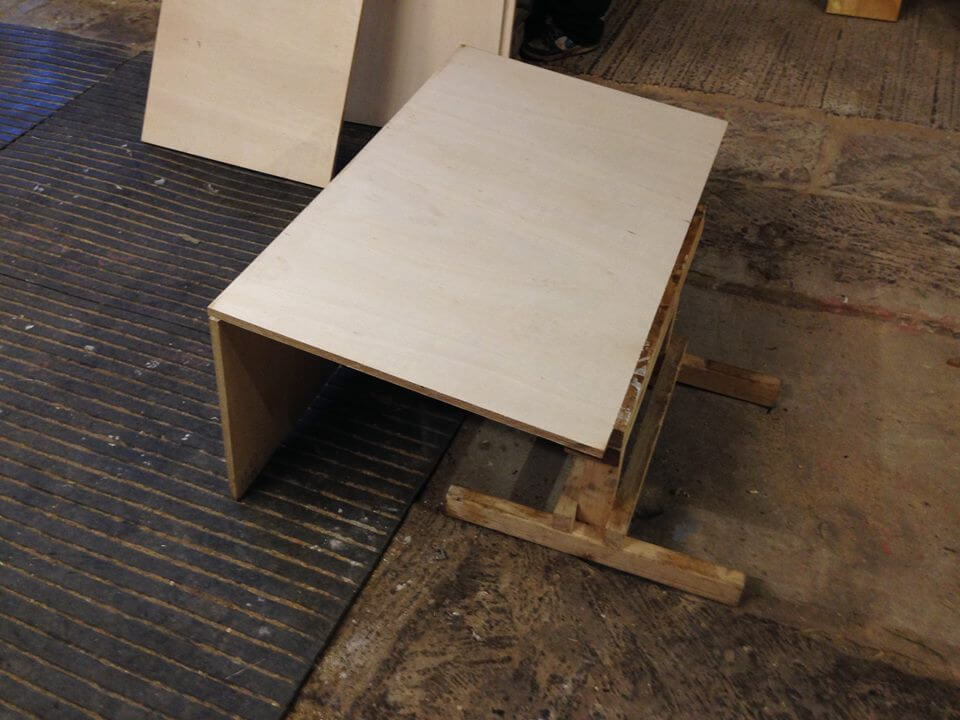
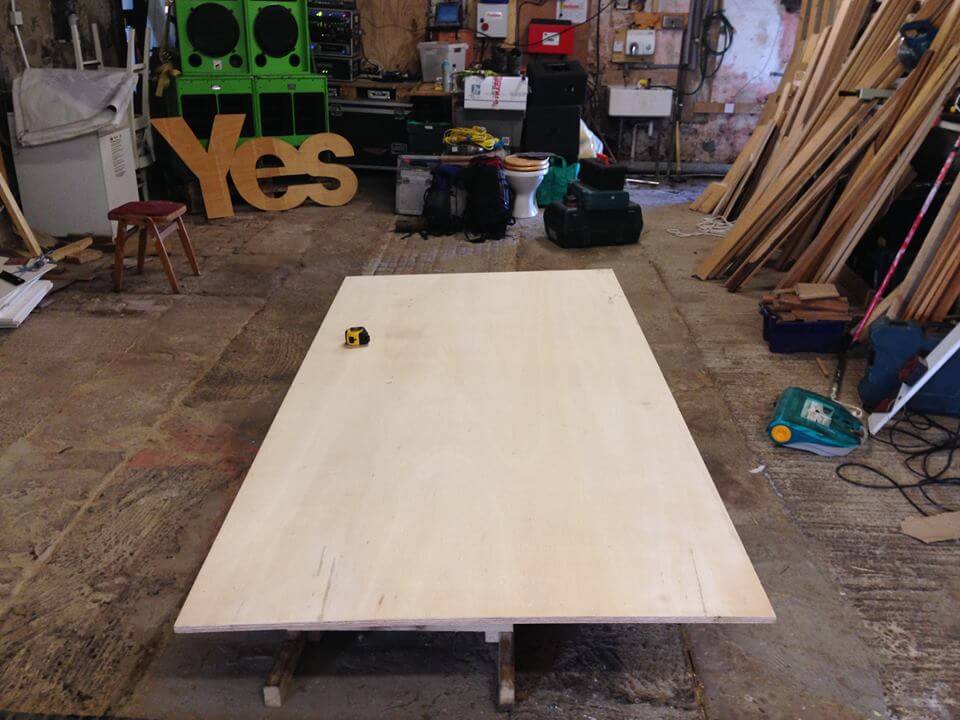
The cabinet itself is built from 18mm Marine Plywood. It’s tough, durable and resistant to moisture – ideal for our purposes. Here’s a quick list of materials:
- 2 x sheets of 18mm marine ply
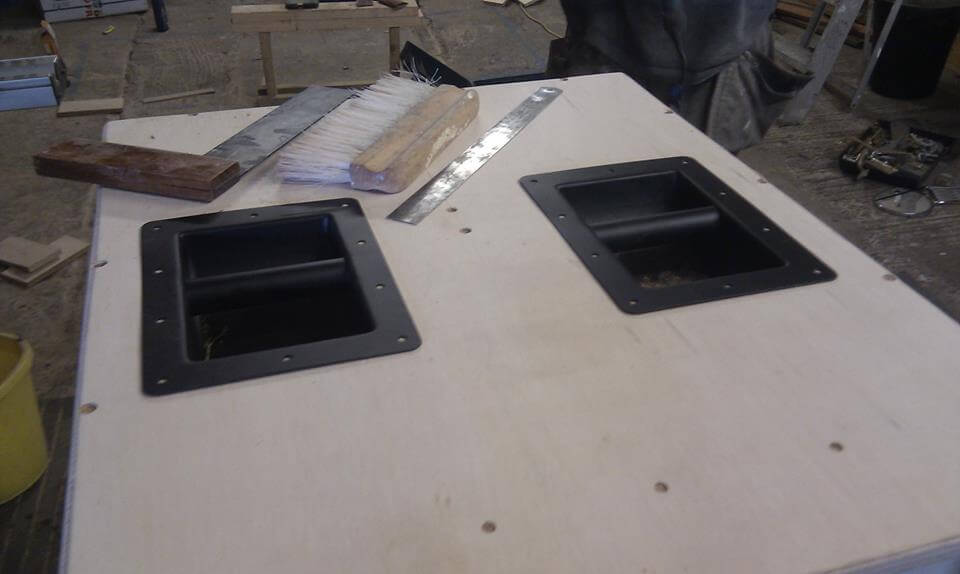
- 4 x metal recessed handles
- 200 x decent length screws
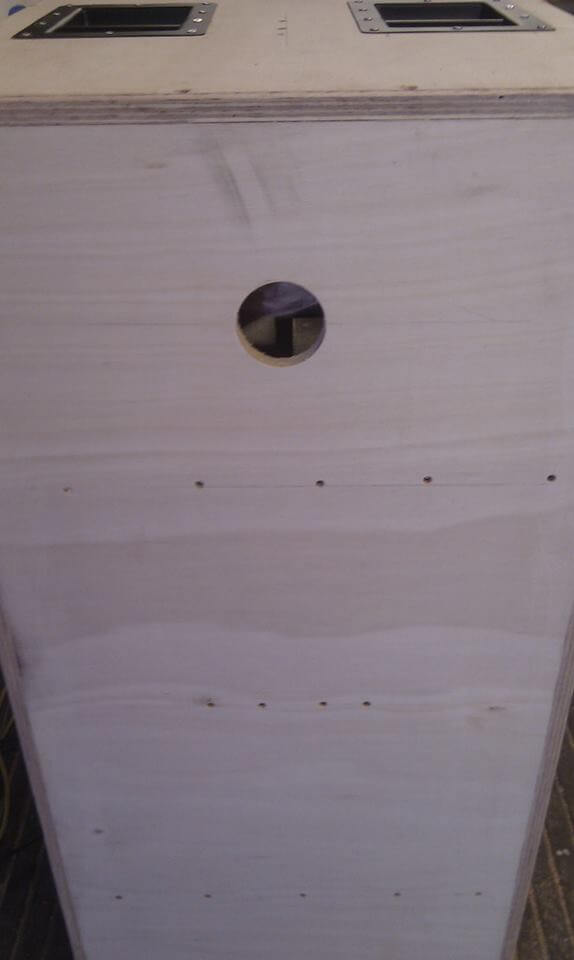
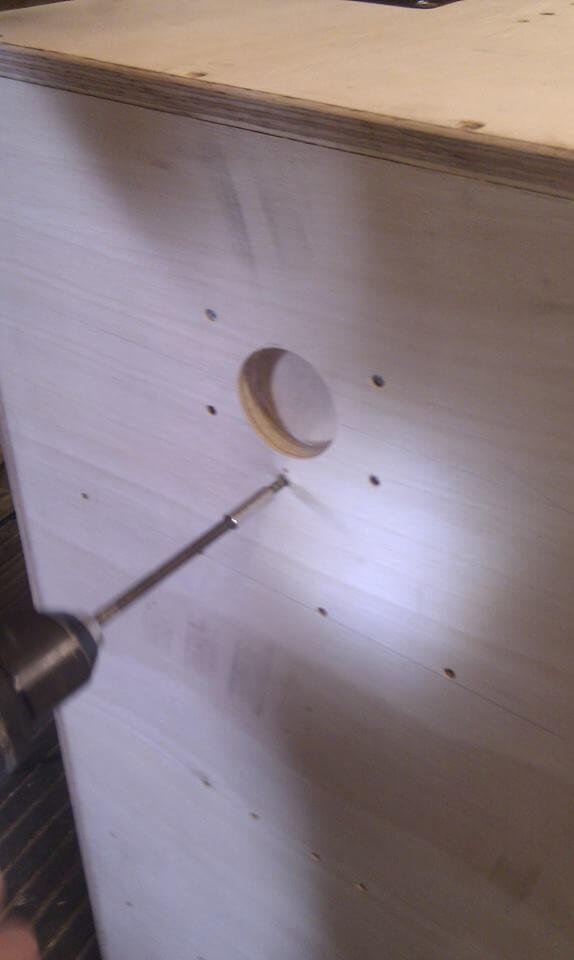
- 1 x speakon chassis connector (Neutrik, not some cheap knock off)
- 2 x 18″ grilles
- 8 x grille clamps
- 8 x M8 t-nuts
- 8 x M8 machine bolts
- 16 x M6 t-nuts
- 16 x M6 machine bolts
- 1 x tub of PVA glue
- 1 x bottle of wood glue
- 1 x length of 13amp+ cable
- 2 x Fane Colossus 18XB drivers (or either of the others mentioned below)
- 1 x tub of tuff cab paint (2.5kg or 5kg depending how many coats)
- 1 x roll of acoustic wadding
The design looks like this:
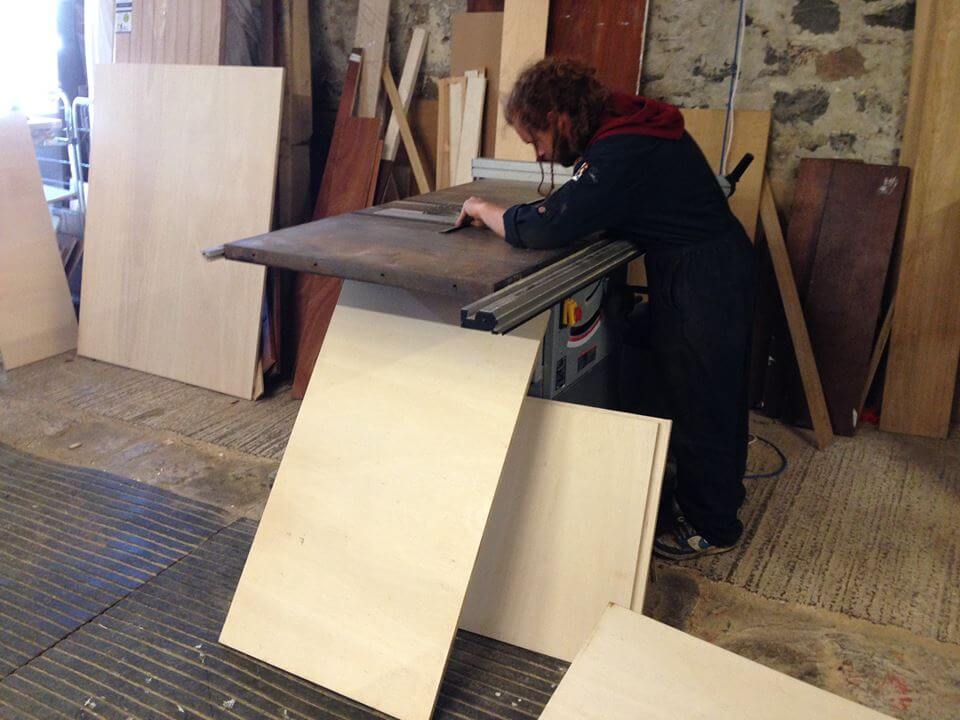
We managed to find a cutting plan but it proved useless so not going to bother including it here. You may find a decent one online, else you’ll need to use your intuition to come up with one.
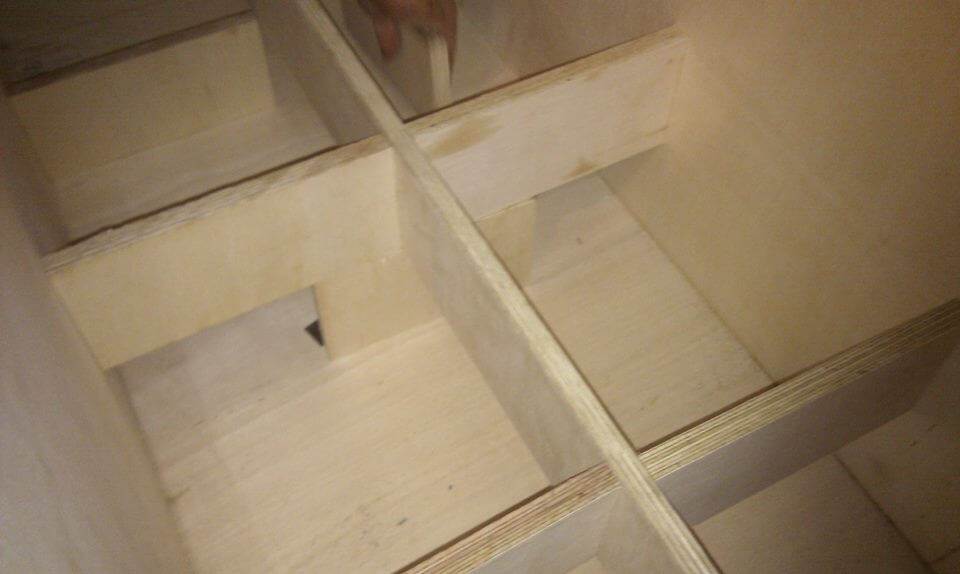
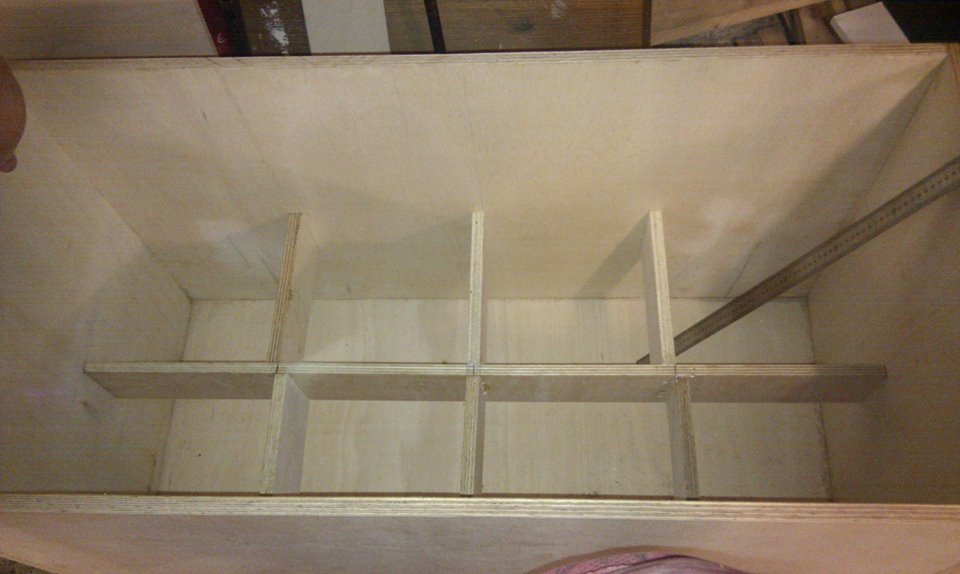
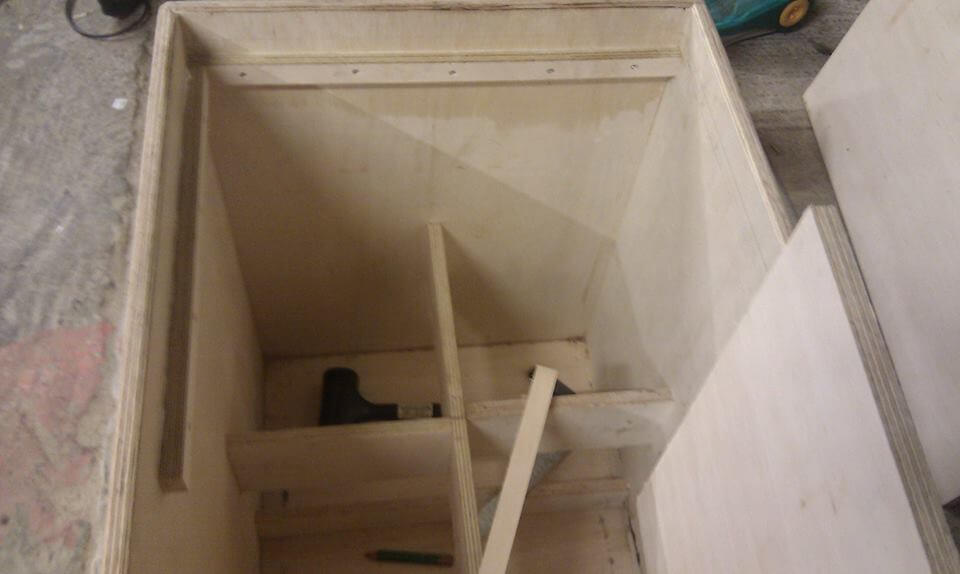
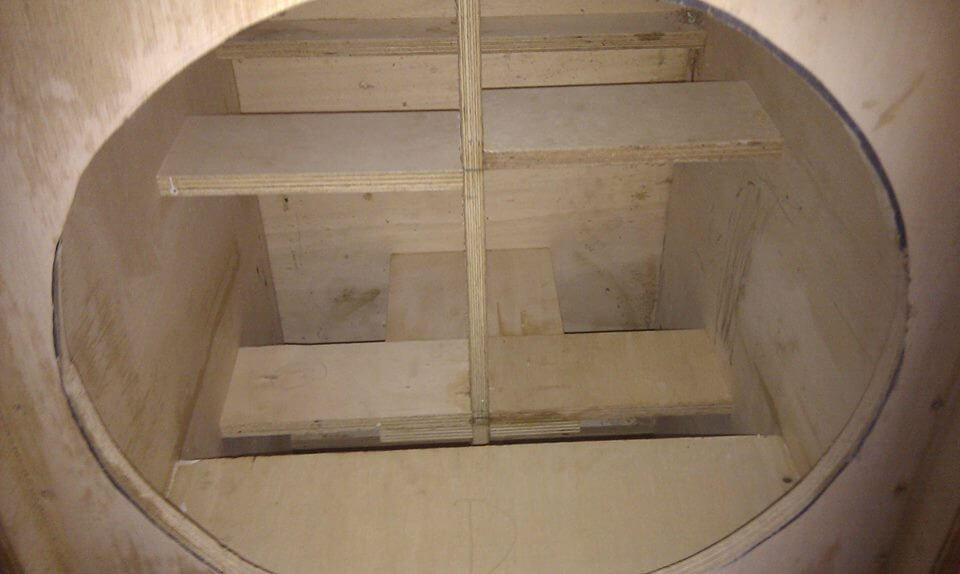
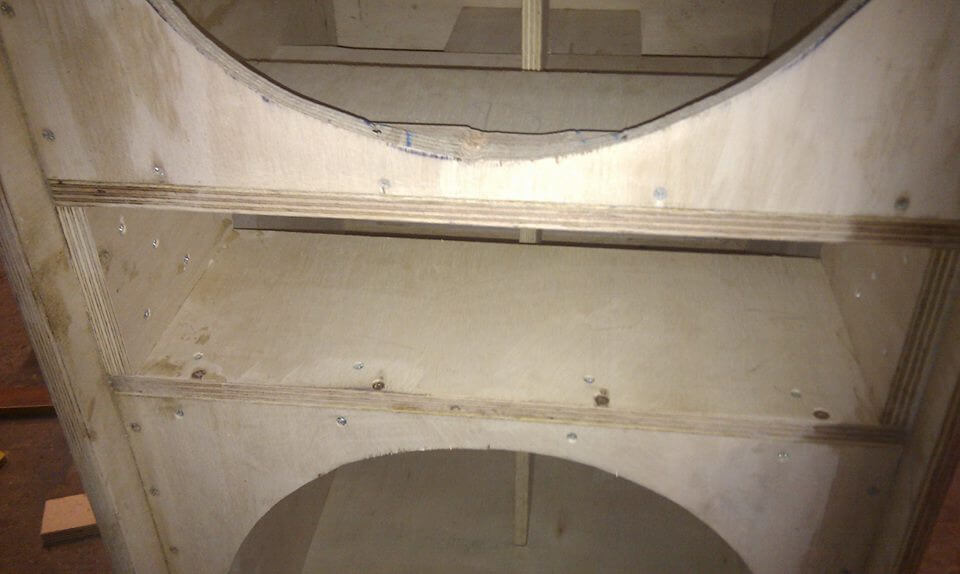
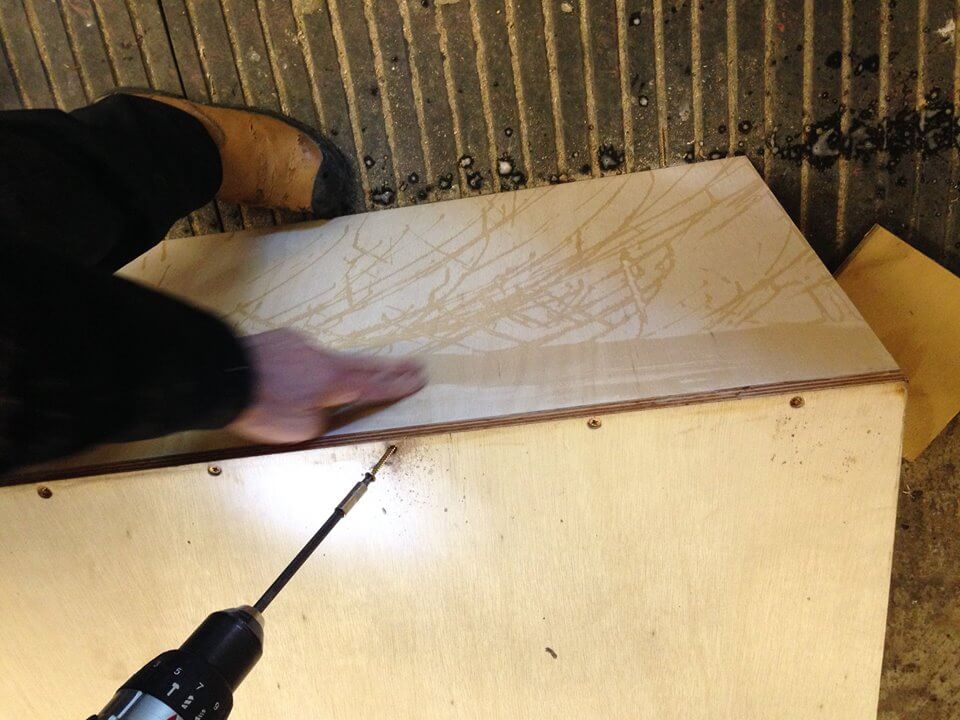
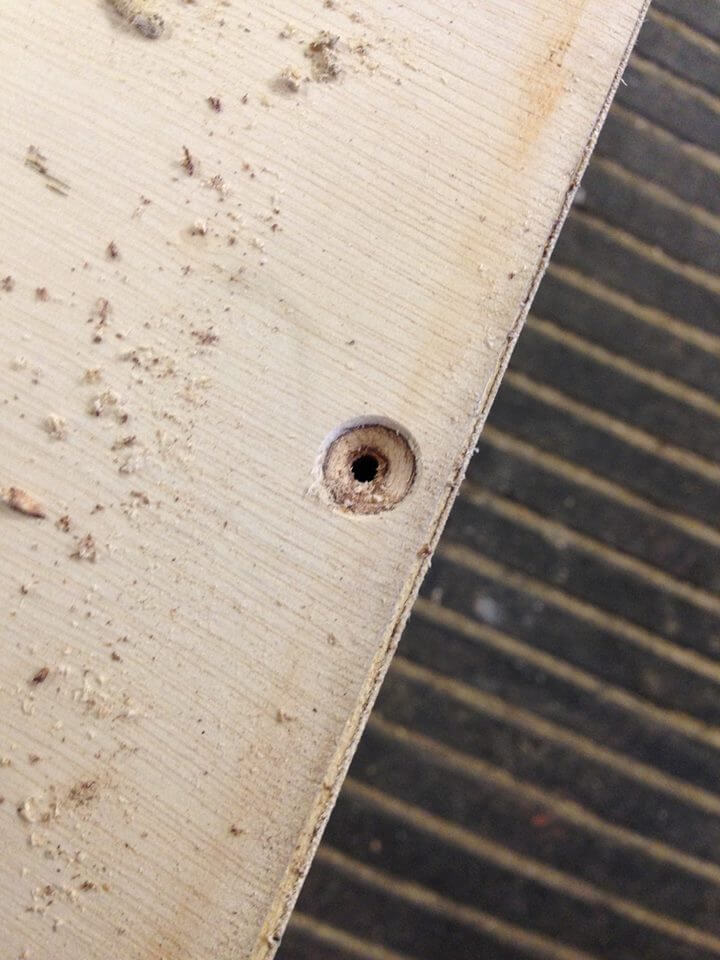
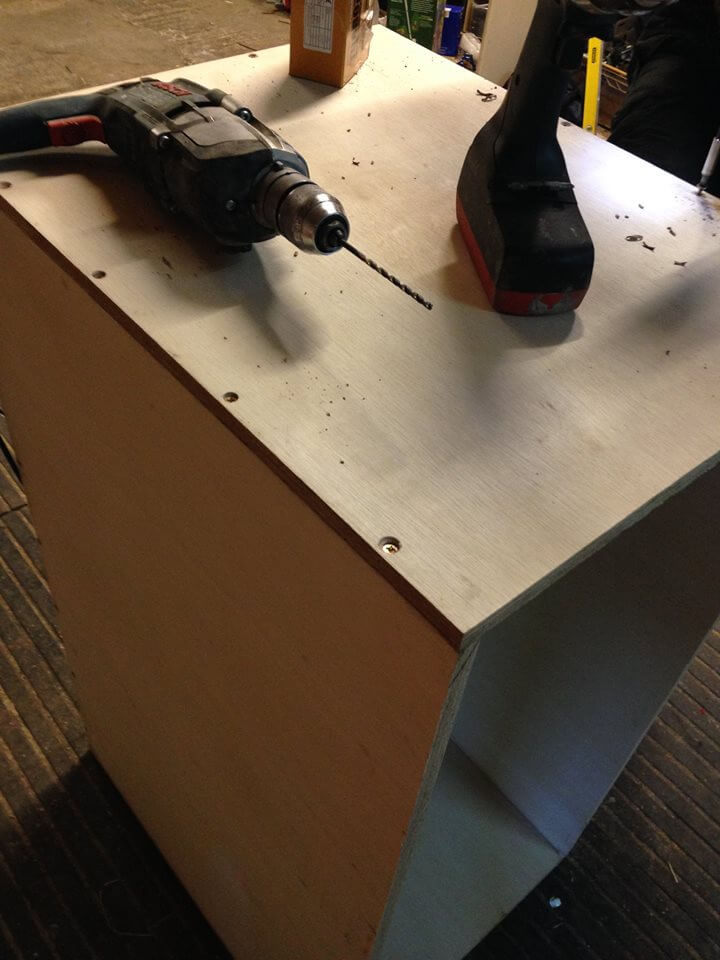
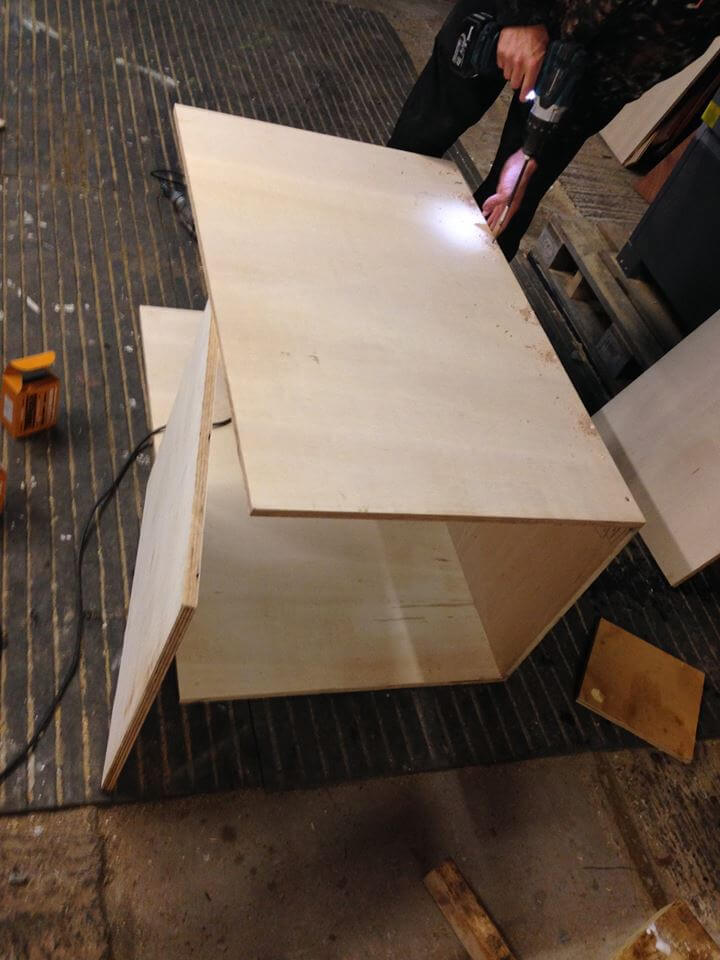
I’m not going to go through the steps as I can’t remember that far back but it was all easy enough. This is the beauty of a simplistic design such as this. The bracing is probably the only area which needs a bit more thought. The bracing you can see in these pictures was a proof of concept – there’s definitely room for improvement.
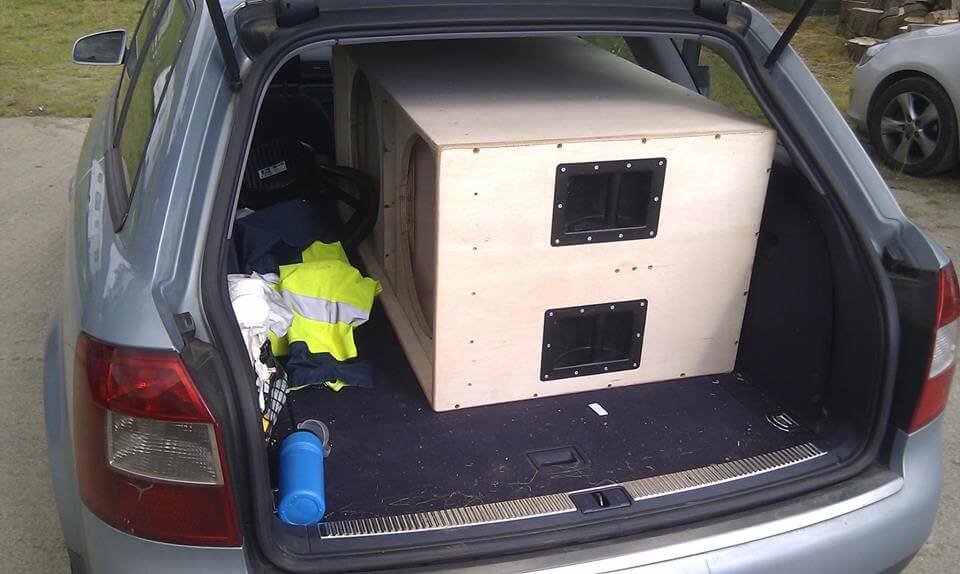
Anyway, here’s the pictures. Good luck if you give this a go for yourself – it’s worth it. The complete build took one weekend plus another day for painting.


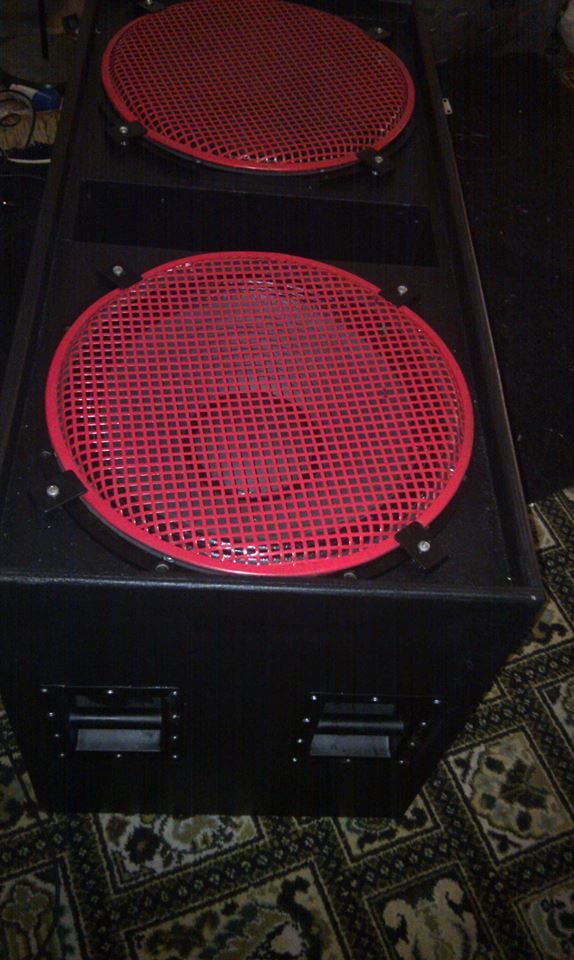
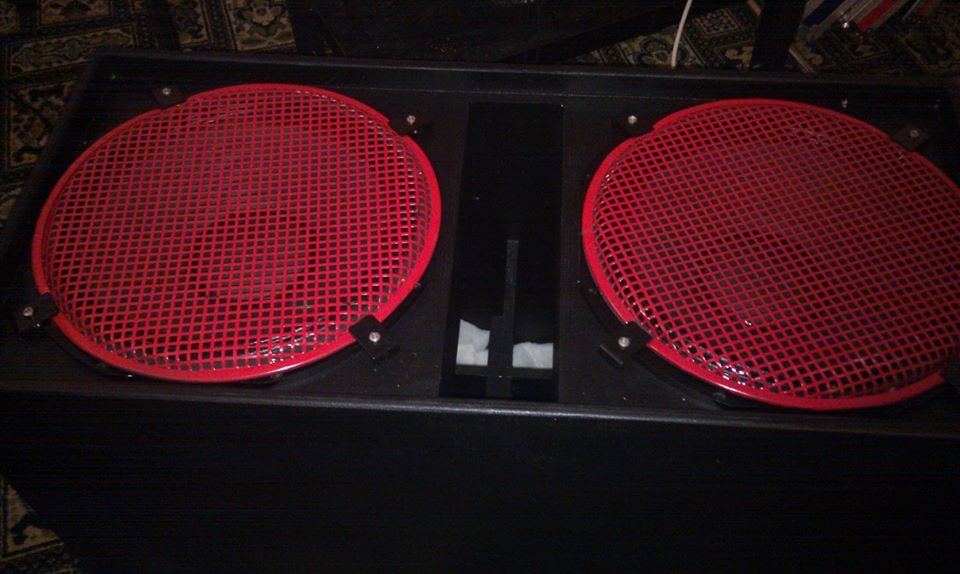
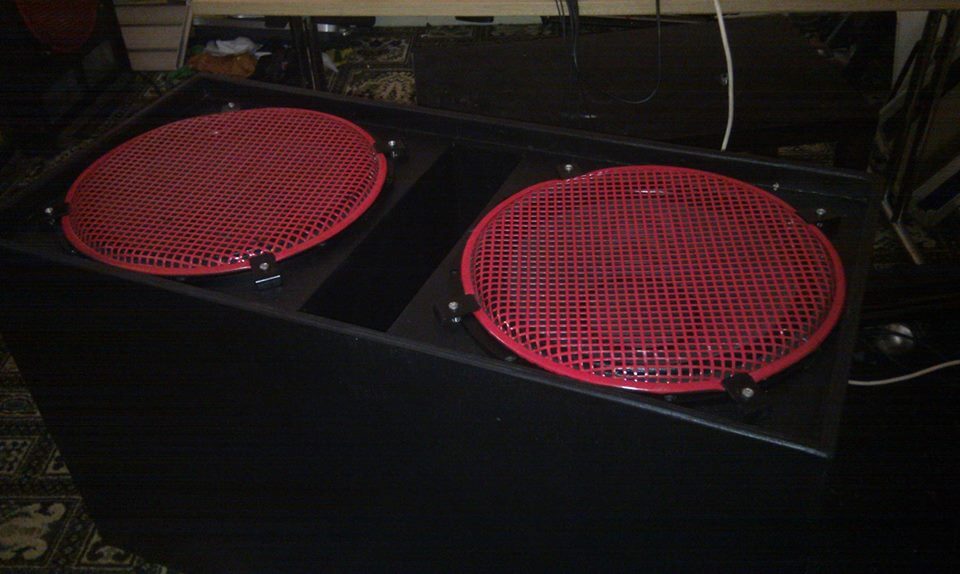
The final touches including a lick of black Tuff Cab paint for the cabinet and bright red spray paint for the grilles.